I haven’t blogged in ages, and I apologize. A couple of weeks ago I started my last undergraduate course, and I have been spending all of my free time reading for my independent study — Women in Culture & Society in Medieval Scandinavia.
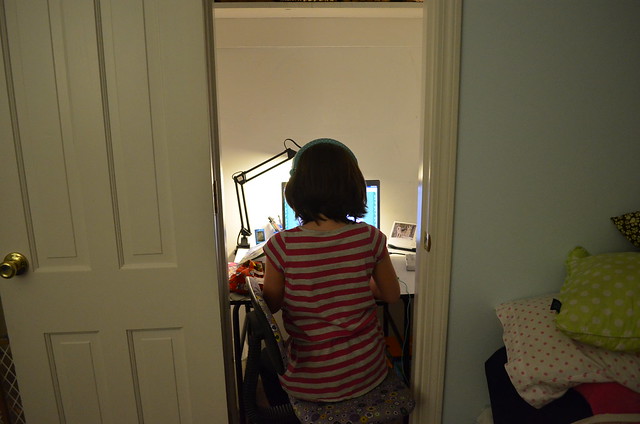
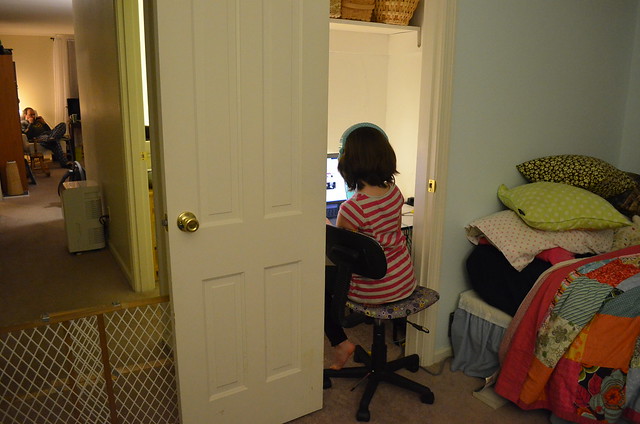
I just wanted to share this amusing little anecdote. As I mentioned, I am working on turning our closet into an office for myself. But, of course, anything that mommy has, Lillia has to have, too. So, I made her a cloffice!
Her closet was easy to transform because it has just one shelf, and we already had the desk. Now she has somewhere to do her schoolwork and play WolfQuest in privacy (a.k.a. without her little brother).
I am planning to create a super-amazingly-awesome craft area for me and the kids in the basement but, at the speed that renovations happen around here, the kids will probably be in college before that happens. Enter: the cloffice.
If you’ve spent any time browsing blogs or Pinterest, you probably know what a cloffice is. But, for those of you who don’t, it’s basically a closet that has been transformed into an office area. There are many varieties of cloffices out there, and I’ve decided that I want/need one of my own.
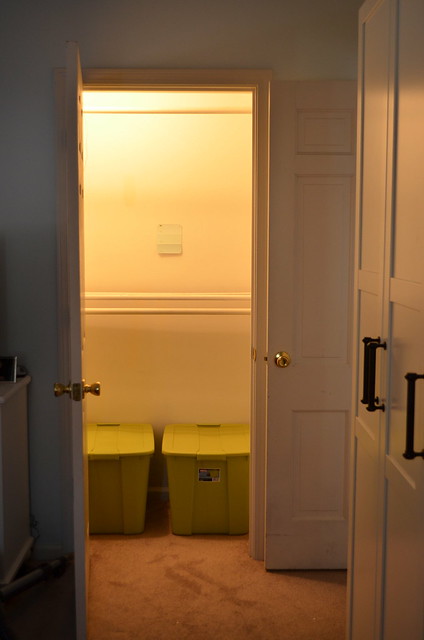
Last year we installed two IKEA Botne wardrobes (weirdly enough, a HUGE amount of the traffic to my blog comes from people searching for info about the Botne). That freed up our regular closet, which has been used to store everything from sewing supplies, to homeschooling materials, to paper towels and the vacuum cleaner. Here it is in its current state:
Wouldn’t it make an excellent cloffice? I think so! All it needs is a little paint, some sturdy shelves, and a desk. I can’t wait to blog, work on homeschool plans, and do some serious research for my last(!) undergraduate course in my own little space.
Here are a few examples of really nice cloffices that I will be referring to for inspiration:
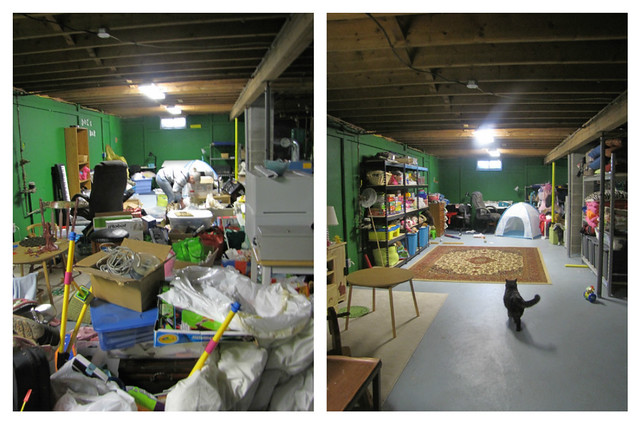
I last blogged about our basement almost a year ago. At the time, we were in the process of cleaning it up. It seemed an impossible task. But, it’s looking pretty good now, as the before & after photos (below) illustrate. The next step is priming the walls so that we can finally be rid of that hideous John Deere green. I’m hoping to start with the priming this week.
After that, we are going to curtain off the unsightly areas. We have decided not to construct real walls at this point, for a variety of reasons. After the walls are painted and the curtains are up, we can get to the fun stuff! I am really looking forward to creating a little office/craft area for myself (a.k.a. a place where I can hide from my children!). Between being home with my kids full-time and homeschooling the oldest, sometimes I feel like I work 24/7 with no breaks. My creative energy needs a place where it can be free, and I think this little area in the basement will do nicely for that.
Here are some photos I’m using as inspiration for my space:
Back in October, I posted about a DIY project I wanted to try: upcycling an old piece of furniture into a play kitchen. Like most things in my life, it went on the backburner (no pun intended) while I attended to more pressing matters. However, our little guy is going to be turning 1 next month (!), and I really wanted to give him a play kitchen for his birthday. He LOVES to watch me cook, and now that he is pretty mobile, I thought he might like to have a little place of his own to practice his culinary skills.
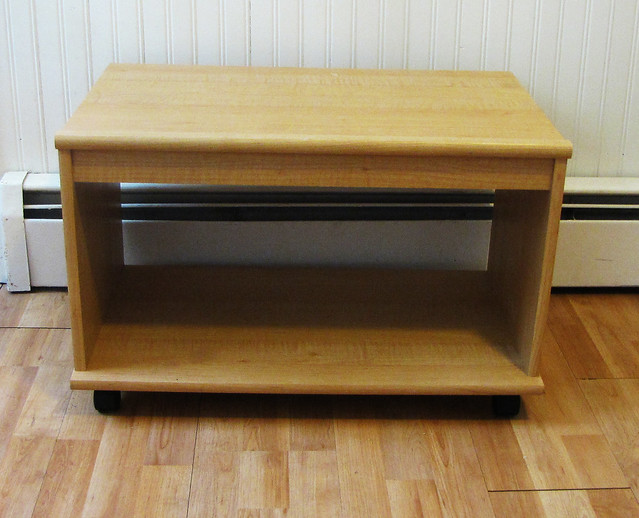
This morning, I randomly thought of this old TV stand that has been sitting in our basement, unused, since we moved. The minute I brought it upstairs, I knew I had found just the right thing to make Zane’s kitchen.
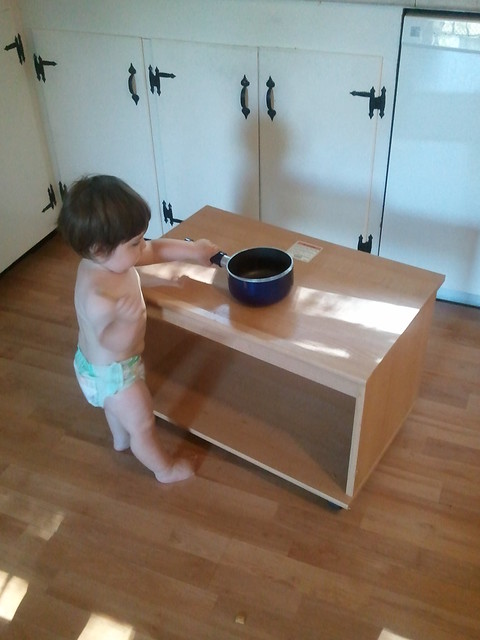
As you can see, it is the perfect height for a little one. Here is Zane giving it a test run.
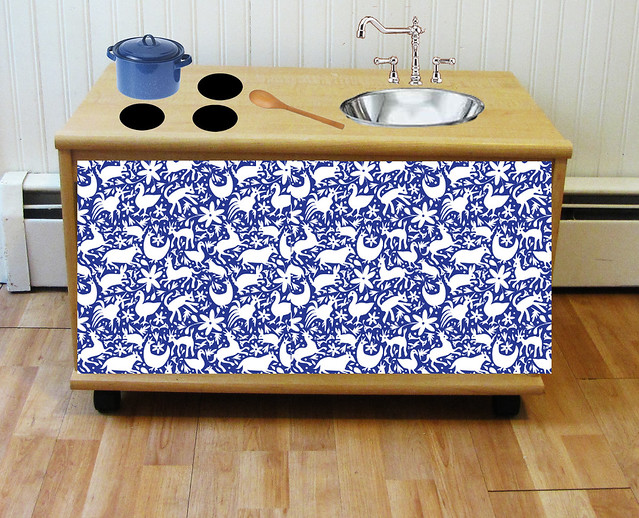
And, here is a terribly rendered Photoshop mock-up of what I hope it will look like when it’s done. I’m not going to get too fancy with oven doors and all that jazz. I’m just going to have some cute curtains and some baskets underneath where he can store his “food” and dishes. That way, there will be no pinched fingers. We can upgrade to something fancier when he gets bigger. Also, the sink fixtures in this photo are way fancier than what I am planning to use.
I think he will love it, and I can’t wait to work on it.
UPDATE 8/23/2012: We finished the kitchen just in time for Zane’s birthday!
And, here’s a little video of the kitchen “in use.”